SGUK Outdoor Skills Challenge 92: Set Up a Solo Camp
Setting up camp on your own means every task is down to you. There’s nobody to hold a pole while you secure a corner, pass you a peg or find the item buried at the bottom of your rucksack. The more familiar you are with your equipment and the order in which things need doing, the easier it becomes to establish a comfortable camp without wasting time.
For this challenge, you’ll set up a solo camp in under 15 minutes. The focus is on planning, organisation and getting the essentials right, rather than racing through the job and leaving your shelter poorly secured.
Your Challenge
Set up a basic solo camp in under 15 minutes, working independently from your packed equipment.
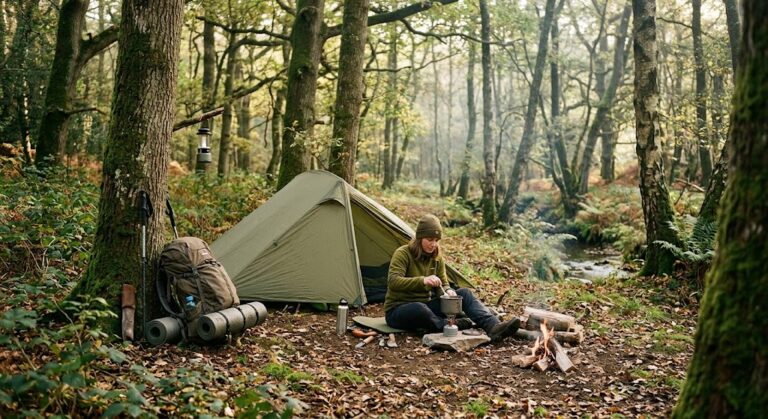
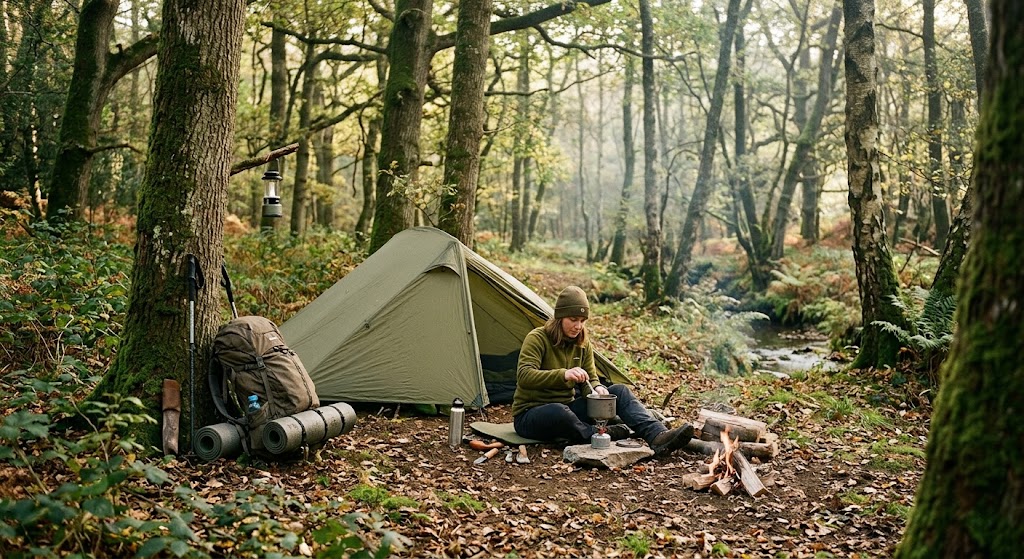
Your camp must include a properly pitched solo tent or suitable shelter, secure pegs and guylines where required, and a prepared sleeping area with your sleeping mat and sleeping bag ready to use.
Choose a familiar, permitted location with suitable ground and enough space to pitch safely. Your equipment must be packed away at the start, and the timer begins when you start unpacking.
You must complete the task without another person helping you. You can organise your kit beforehand, check the weather and choose your pitch in advance, but you must not partially erect the shelter before starting the timer.
The target is 14 minutes and 59 seconds or less. If you don’t meet the target on your first attempt, use the experience to improve your routine and try again.
What You’ll Need
- A solo tent or shelter you know how to pitch
- The correct poles, pegs, guylines and other components
- A groundsheet, if required by your shelter
- A sleeping mat and sleeping bag
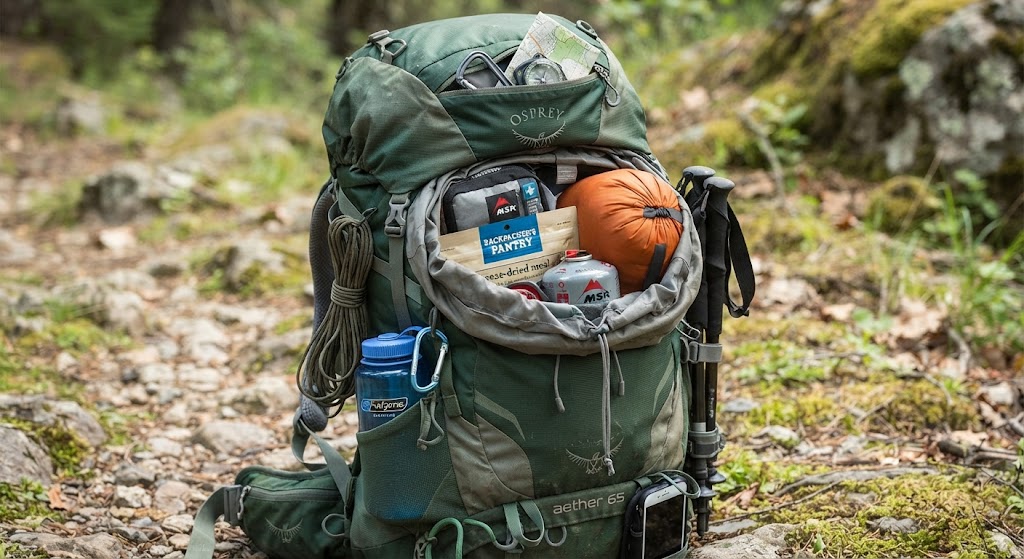
- Your normal camping rucksack or storage bag
- A watch or timer
- Weather-appropriate clothing and footwear
- A first-aid kit
Use equipment in good condition and make sure you understand how it works before starting. This challenge is about becoming efficient with familiar kit, not learning an unfamiliar tent under time pressure.
You can complete the challenge in your garden, at an authorised campsite or on other land where you have permission to pitch. Avoid exposed locations or poor weather that could make the task unsafe.
Take the Challenge
1. Choose Your Pitch Carefully
Before starting the timer, identify a suitable place for your camp. Look for level ground with adequate drainage and enough room for your shelter, including any guyline extensions.
Avoid hollows where water may collect, areas beneath damaged trees, places with sharp objects or hidden holes, and locations where your shelter would block a path. Check that the ground is appropriate for your pegs and that you have permission to use the site.
A good pitch makes the rest of the job easier. Trying to compensate for unsuitable ground after the tent is half erected wastes time and can compromise the shelter.
Inspect the location in daylight wherever possible, particularly if you are practising outdoors for the first time.
2. Pack Your Kit in a Logical Order
Before beginning, consider how your equipment is packed. Your tent, poles and pegs should be easy to identify, rather than mixed loosely with cooking gear, spare clothing and other items.
Think about the order in which you will need things. For example, you may need the tent body and poles first, followed by the pegs and guylines. Your sleeping mat and bag can remain packed until the shelter is secure.
You may organise your equipment before the timed attempt, but don’t lay out the components in pitching order or assemble any part of the shelter in advance.
A consistent packing system helps you avoid searching through your rucksack while the clock is running. It also makes packing away at the end of a trip easier.
3. Start the Timer and Unpack
Place your packed kit at the chosen starting point. Start the timer and begin setting up.
Work deliberately rather than frantically. Unpack the components you need, keeping small items together so that pegs and fittings don’t disappear into the grass.
If your tent has a specific assembly sequence, follow it. Trying to save a few seconds by skipping a step can lead to twisted fabric, incorrectly fitted poles or a shelter that needs to be dismantled and pitched again.
Keep the work area tidy. Put empty bags and unused equipment somewhere they won’t become trip hazards, and avoid leaving sharp tools or small components where you might kneel on them.
4. Pitch the Shelter on Your Own
Follow the normal pitching method for your tent or shelter. Lay out the fabric, identify the entrance and corners, and assemble the poles carefully.
If your shelter uses clips, sleeves or a separate flysheet, make sure each component is correctly positioned before applying tension. Keep pole sections connected properly and avoid forcing a pole into a fitting that doesn’t align.
Solo pitching often becomes easier when you use the shelter’s own structure to hold components in position. Follow the manufacturer’s instructions rather than improvising a technique that might damage the tent.
Secure the corners and insert the required pegs. If the ground is too hard or stony, reposition the peg rather than forcing it until it breaks. Tension the guylines as needed and check that the shelter stands correctly.
Don’t omit important pegs or leave the shelter unstable to beat the timer. A quick setup is only worthwhile if the result is safe and functional.
5. Prepare Your Sleeping Area
Once the shelter is standing and secured, prepare the area where you’ll sleep.
Lay out the groundsheet if your shelter requires one, position your sleeping mat and unpack your sleeping bag. Keep the sleeping equipment dry and avoid placing it on muddy footwear or damp ground.
Organise the essentials you may need during the night, such as a drink, a torch and any items you need to reach easily. Keep the entrance clear and avoid creating a pile of loose equipment that will make moving around difficult.
You don’t need to unpack your entire rucksack. A solo camp should be functional, with the essentials ready and everything else stored neatly.
6. Stop the Timer and Inspect the Camp
Stop the timer when your shelter is properly pitched, all required securing points are in place and your sleeping area is ready.
Record your time, then inspect the camp. Check that the poles are seated correctly, the fabric is not twisted, pegs are secure and guylines are positioned sensibly. Make sure the entrance opens and closes as intended.
Look at the surrounding area too. Ensure your shelter isn’t obstructing a route and that there are no obvious trip hazards around the entrance.
If something needs correcting, do it. The recorded time is a useful measure of efficiency, but a secure camp is the real priority.
Check Your Results
Assess your attempt against these questions.
Did you finish in under 15 minutes? Record your time accurately. If you missed the target, identify the part of the setup that took longest.
Could you find everything quickly? Consider whether your packing system made the poles, pegs and shelter easy to access.
Was the shelter properly secured? Check all the components required by your tent design. A shelter that is standing but poorly pegged is not a successful result.
Was the sleeping area ready? You should be able to settle in without needing to unpack and rearrange most of your equipment.
Did you work independently? No one should have held the tent, fetched components or helped with the pitching process.
Did you maintain safe working habits? Speed should not have led to broken equipment, unsafe movements or missed checks.
If your first attempt takes longer than 15 minutes, repeat it after considering what could be improved. A more logical packing system or a better understanding of the pitching sequence can often make the biggest difference.
Complete the Challenge
You’ve completed this challenge when you have independently established a functional solo camp in under 15 minutes, with the shelter properly secured and your sleeping area ready.
You should be able to explain what helped you work efficiently and identify one improvement you could make to your setup routine.
You don’t need to test your speed in bad weather or use an unfamiliar location. Practising with your usual equipment in safe conditions is a better way to build a reliable routine.
How to Submit Your Challenge
Share evidence of your completed solo camp on your Survival Guides UK member profile.
Submit your evidence
- Log in to your Survival Guides UK account.
- Open your member profile and select Social Activity.
- Upload a photograph showing your completed solo camp.
- Add your finishing time and include #SGUKChallenge92 in the post.
- Share the post for verification.
Make sure your photograph shows the pitched shelter clearly. You can include a separate photograph of your timer or written record of the time, but this is optional.
You don’t need to photograph yourself during every stage of the setup. Your finished camp and recorded time provide a straightforward record of your attempt.
Challenge 92 Checklist
Want to Push Yourself?
Improve your packing system. Try rearranging your kit so that the items needed first are the easiest to access. Keep small components together and develop a routine you can repeat on every trip.
Aim for consistency. Complete the challenge on several occasions and record your times. A reliable setup time is more useful than one unusually fast attempt followed by slower, disorganised efforts.
Try a different familiar shelter. If you own more than one solo shelter, learn each pitching method in daylight before attempting the timed challenge. Different designs require different techniques, so adapt your routine to the equipment.
Reduce unnecessary movement. Observe how often you walk back to your rucksack or move equipment from one side of the pitch to the other. Placing items sensibly can reduce wasted steps without encouraging rushed work.
Practise packing away efficiently. Once your timed setup is complete, practise dismantling and repacking the camp. Keeping wet and dirty components separate from sleeping equipment is an important part of maintaining a useful solo camping system.
Develop your judgement. Learn when conditions are unsuitable for a fast setup. Strong winds, poor ground and deteriorating weather may require a different approach or a decision not to pitch at all.
The aim is to become organised and self-reliant enough that setting up camp alone feels straightforward, even after a long day outdoors.
What’s Next?
Continue developing your traditional camping skills with SGUK Outdoor Skills Challenge 91: Walk 2km in Darkness Using Only Moonlight. That challenge explores how low light affects visibility, route awareness and decision-making after dark.
You can complete SGUK Outdoor Skills Challenges in any order, so choose the next activity that interests you and keep building your skills through practice.
Once you’ve shared your evidence and it has been verified, the SGUK Outdoor Skills Challenge 92 is complete and the completed challenges figure will be updated on your profile.
🔒Ready to test your survival skills?
Join Survival Guides UK for free, complete challenges, earn badges and increase your Survival Level.
JOIN FREE →
CRAIG BURR
FOUNDER · SURVIVAL GUIDES UK
I'm Craig, the person behind Survival Guides UK. I created SGUK because I wanted somewhere people could learn real outdoor skills in a practical, straightforward way — from lighting a fire and tying knots to navigation, campcraft and everything in between.
You can read more about the story behind SGUK here as well as our approach here.