Pure Bushcraft Outdoor Skills Challenge 86: Learn to Make a Smoke Signal
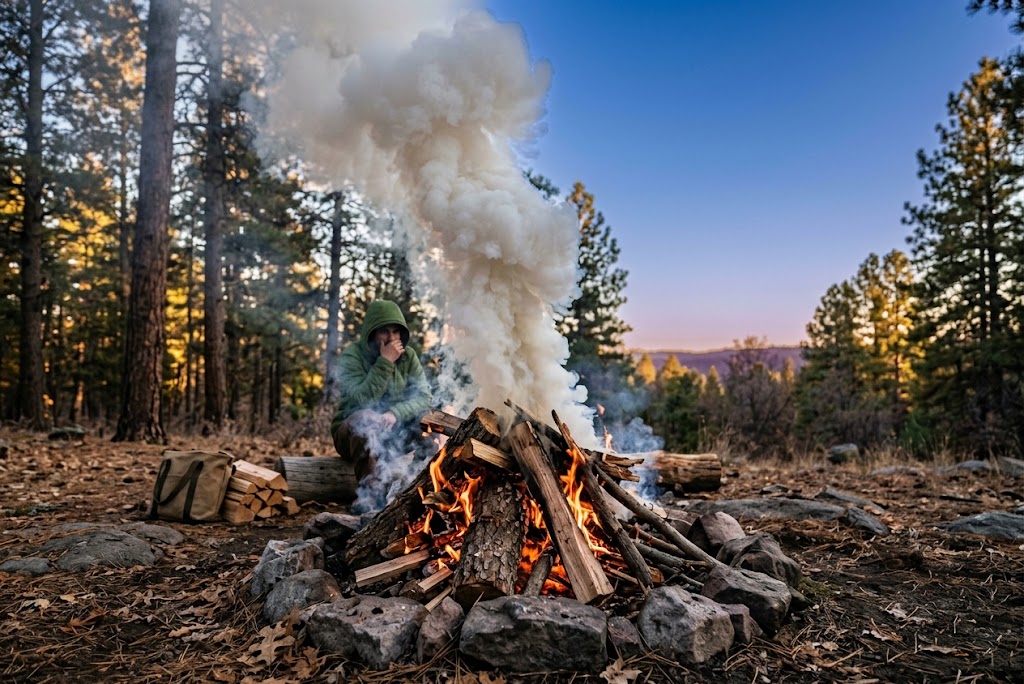
Smoke has been used as a visual signal for centuries because it can sometimes be seen from a considerable distance. In an outdoor emergency, a visible signal may help rescuers or other people locate someone who needs assistance, particularly where mobile phone coverage is poor.
However, making smoke is not as simple as creating a fire and adding green leaves. Smoke can be difficult to control, wind can carry it away from the intended viewing area, and an improperly managed fire can quickly become dangerous. In dry conditions, even a small fire may start a wildfire.
For this challenge, you’ll learn how smoke signals work, identify the features of an effective visual distress signal and practise planning a signal safely without lighting a fire or producing smoke.
Your Challenge
Learn how to use smoke as a potential visual distress signal, understand the limitations of this method and create a safe demonstration of your emergency signalling plan.
You will research the conditions that make smoke visible, identify the precautions needed before any real-world use and practise explaining how you would attract attention in an emergency.
You do not need to light a fire or generate smoke to complete this challenge. Your evidence can demonstrate your understanding through a labelled diagram, a written signal plan or a photograph of a safe demonstration using ordinary materials to represent the signal.
The priority is to understand when smoke signalling might help, when it could create additional danger and what safer alternatives are available.
What You’ll Need
- A notebook and pencil, or a phone for recording your findings.
- Paper and coloured pencils or pens for a signalling diagram.
- A clear outdoor location where you can observe visibility and wind direction safely.
- A compass, if available.
- Information about local emergency procedures and restrictions on outdoor fires.
- A phone or another suitable means of contacting emergency services when possible.
You do not need fuel, matches, a lighter, green vegetation or any materials intended to produce smoke.
If you are learning alongside a group, you can use a simple diagram or a small arrangement of objects on the ground to represent the intended location of a signal. Keep the activity entirely non-combustible.
Take the Challenge
1. Understand how a smoke signal works
A smoke signal relies on contrast. A plume that stands out against the surrounding landscape or sky may attract attention more effectively than one that blends into the background.
Visibility depends on several factors, including the colour and density of the smoke, the direction of the sunlight, wind, cloud cover, terrain and the distance between the signal and the observer.
A signal that appears obvious from nearby may be difficult to see from a distant viewpoint. Smoke can also disperse rapidly in strong winds or become hidden behind trees, hills or buildings.
Consider the surroundings where you might need help. On open moorland, a visible plume might stand out against the sky, while in a wooded area it could be obscured by the tree canopy.
The important lesson is that smoke is a possible signalling method, not a guarantee that someone will see you.
2. Learn the difference between ordinary smoke and a distress signal
Smoke rising from a chimney, agricultural activity or a routine campfire may not communicate that somebody needs help. A distress signal must attract attention in a way that can be interpreted as intentional.
In some survival and scouting traditions, people discuss using contrasting smoke colours or producing several visible signals. However, there is no single universal smoke-signal code that every rescuer, aircraft crew or member of the public will recognise.
Do not assume that a particular number of smoke plumes will automatically communicate a specific message.
In an emergency, follow established local procedures and use recognised distress signals where appropriate. If you have a phone signal, contact emergency services directly rather than relying on a visual signal alone.
For the UK, call 999 or 112 and ask for the appropriate emergency service. At the coast, ask for the Coastguard. On mountains or remote inland terrain, explain your location as accurately as possible and follow the operator’s instructions.
3. Assess the environment before considering a signal
Before planning any outdoor signal, consider whether creating smoke would be safe and lawful.
Look at the weather, the terrain and the condition of the surrounding vegetation. Dry grass, heathland, peat, woodland and areas with accumulated leaf litter can be particularly vulnerable to fire.
Wind direction matters too. Smoke may blow away from the people you are trying to alert, obscure roads or affect nearby homes. Strong winds can also make fires difficult to control.
In the UK, restrictions on fires vary according to location, land management rules, local conditions and the type of land involved. Do not assume that being outdoors, on public land or away from buildings makes a fire permissible.
If you are ever considering a smoke-producing signal in a genuine emergency, do not create a fire where it could endanger people or property. Follow emergency-service instructions and use a safer method whenever possible.
For this challenge, record three hazards you would assess before considering any smoke signal. Examples include dry vegetation, strong winds and nearby roads or buildings.
4. Identify safer alternatives
Smoke is only one possible way to attract attention. Depending on the environment, other methods may be more effective and carry less risk.
Mobile phone or emergency communication device: If you have a signal, call emergency services and provide your location. In remote areas, a suitable satellite communicator or personal locator beacon may provide another way to request assistance.
Whistle: Three repeated blasts are widely used as a distress signal in outdoor settings. Make the signal clearly and repeat it at intervals while listening for a response.
Torch: In darkness or poor light, a torch can attract attention. Use repeated flashes or a recognised distress signal where appropriate, but do not shine lights into aircraft cockpits or towards drivers.
Bright clothing or fabric: A brightly coloured item placed in a visible location can help rescuers identify you against the surrounding landscape. Keep yourself in a safe position rather than climbing onto exposed ground to display it.
Ground signals: A large, contrasting arrangement of objects or clothing may be visible from above. Keep the arrangement simple and make it stand out against the terrain.
These methods are not equally effective in every situation. A whistle may be useful in woodland but difficult to hear across a windy valley, while a torch may be of limited value in bright daylight.
The best approach is to choose a signal that suits the conditions and combine methods when appropriate.
5. Plan a hypothetical smoke signal
Now create a simple plan showing how you would evaluate smoke signalling in a hypothetical emergency.
Start by drawing or describing a landscape containing a safe position, the direction of the wind, a possible observer and any obstacles that could block visibility.
Mark where a visual signal might be seen most clearly without requiring you to move into a hazardous location. Consider whether a hill, tree line or building would obstruct the view.
Next, explain how you would communicate that you needed assistance. Include the following points:
- How you would contact emergency services if communication equipment worked.
- How you would identify your position as accurately as possible.
- What non-combustible visual signal you could use instead of smoke.
- How wind, visibility and terrain might affect the signal.
- What you would do if nobody responded.
Do not use a real fire to test your plan. The exercise is about judgement, visibility and emergency preparation, not producing smoke.
6. Practise a safe visual demonstration
Create a small demonstration using non-combustible materials. For example, arrange a few contrasting pieces of fabric or coloured paper on the ground to represent a planned signal location.
Photograph the arrangement from nearby and, if practical, from a second safe viewpoint farther away. Compare how easily the arrangement can be distinguished from its surroundings.
You can also draw a simple diagram showing how a smoke plume might be affected by wind and obstacles. Label the wind direction, the intended viewing direction and any features that could hide the signal.
Do not use smoke bombs, pyrotechnics, chemical mixtures, burning materials or improvised smoke devices. These can cause burns, fires, toxic exposure or unnecessary alarm.
If you are working with other people, ask them to assess whether your visual arrangement is easy to notice without telling them exactly where to look. This can help demonstrate how background contrast affects visibility.
7. Record what you have learned
Finish by writing a short summary of your findings.
Explain why smoke can sometimes be visible over long distances, why wind and terrain affect its usefulness and why creating smoke may be inappropriate in many outdoor settings.
Include at least three hazards associated with producing smoke and three alternative signalling methods.
Your notes should make one point especially clear: a smoke signal is not a substitute for contacting emergency services when that is possible, and creating a fire can make an emergency worse.
Check Your Results
Review your notes and answer these questions:
- Why might smoke be visible from a distance?
- How can wind affect the direction and visibility of a smoke plume?
- Why might smoke be difficult to see against certain backgrounds?
- Why should you not assume that a particular smoke pattern has a universal meaning?
- What environmental conditions could make producing smoke dangerous?
- What three alternative signalling methods could you use outdoors?
- How would you contact emergency services and communicate your location?
- Did you demonstrate your plan without creating a fire or producing smoke?
If you can explain these points and demonstrate a safe alternative, you have achieved the purpose of the challenge.
Remember that the effectiveness of any distress signal depends on the situation. No method guarantees that somebody will notice you, so preparation, communication equipment and sound decision-making remain essential.
Complete the Challenge
To complete this challenge, create a written or illustrated smoke-signalling plan, identify the hazards involved and demonstrate a safe visual signal using non-combustible materials.
Your work must explain how wind, visibility and terrain affect signalling, identify at least three safer alternatives and show that you understand why creating smoke may be inappropriate or dangerous.
You do not need to start a fire, produce smoke or conduct a live signalling test. The aim is to develop your knowledge of emergency signalling without creating unnecessary risks.
How to Submit Your Challenge
Submit your evidence
Take a clear photograph of your non-combustible visual demonstration, labelled diagram or written signal plan. Make sure your evidence shows how you have considered visibility, wind direction and safer alternatives.
Do not create smoke or light a fire just to obtain evidence. A safe demonstration is sufficient for this challenge.
Then follow these steps:
- Go to your Pure Bushcraft member profile.
- Open Social Activity.
- Upload your photograph of the demonstration or completed plan.
- Add the hashtag #Pure BushcraftChallenge86 to your post.
- Share it for verification.
You can include a short explanation of the hazards you identified and which alternative signalling method you would choose in a particular situation.
Challenge 86 Checklist
Want to Push Yourself?
Develop a complete emergency signalling plan for a hypothetical day walk in an area with limited mobile coverage.
Choose a realistic setting, such as open countryside or woodland, and identify the communication methods you would carry. Explain how you would share your route and expected return time with someone before setting out.
Next, rank your signalling options according to the circumstances in which they might be useful. Consider a phone, a whistle, a torch, a bright visual marker and a personal locator beacon where appropriate.
For each method, explain one limitation and how you might address it. For example, a phone may have no signal, while a visual marker may be difficult to see at night.
You could also research the recognised distress signals used in mountain rescue, maritime emergencies or organised outdoor activities. Make sure you distinguish between widely recognised signals and informal techniques that others may not understand.
The goal is to become more capable at attracting attention and communicating distress, while recognising that the safest and most effective method depends on the situation.
What’s Next?
Continue developing your outdoor awareness with Pure Bushcraft Outdoor Skills Challenge 85: Learn to Read Waves. That challenge teaches you to observe changing environmental conditions, recognise possible hazards and understand the limitations of what you can judge from a distance.
You can complete Pure Bushcraft Outdoor Skills Challenges in any order, so feel free to explore other subjects or return to earlier challenges whenever you want to practise your skills.
Once you’ve shared your evidence and it has been verified, the Pure Bushcraft Outdoor Skills Challenge 86 is complete and the completed challenges figure will be updated on your profile.
🔒Ready to test your survival skills?
Join Pure Bushcraft for free, complete challenges, earn badges and increase your Survival Level.
JOIN FREE →
CRAIG BURR
FOUNDER · Pure Bushcraft
I'm Craig, the person behind Pure Bushcraft. I created Pure Bushcraft because I wanted somewhere people could learn real outdoor skills in a practical, straightforward way — from lighting a fire and tying knots to navigation, campcraft and everything in between.
You can read more about the story behind Pure Bushcraft here as well as our approach here.