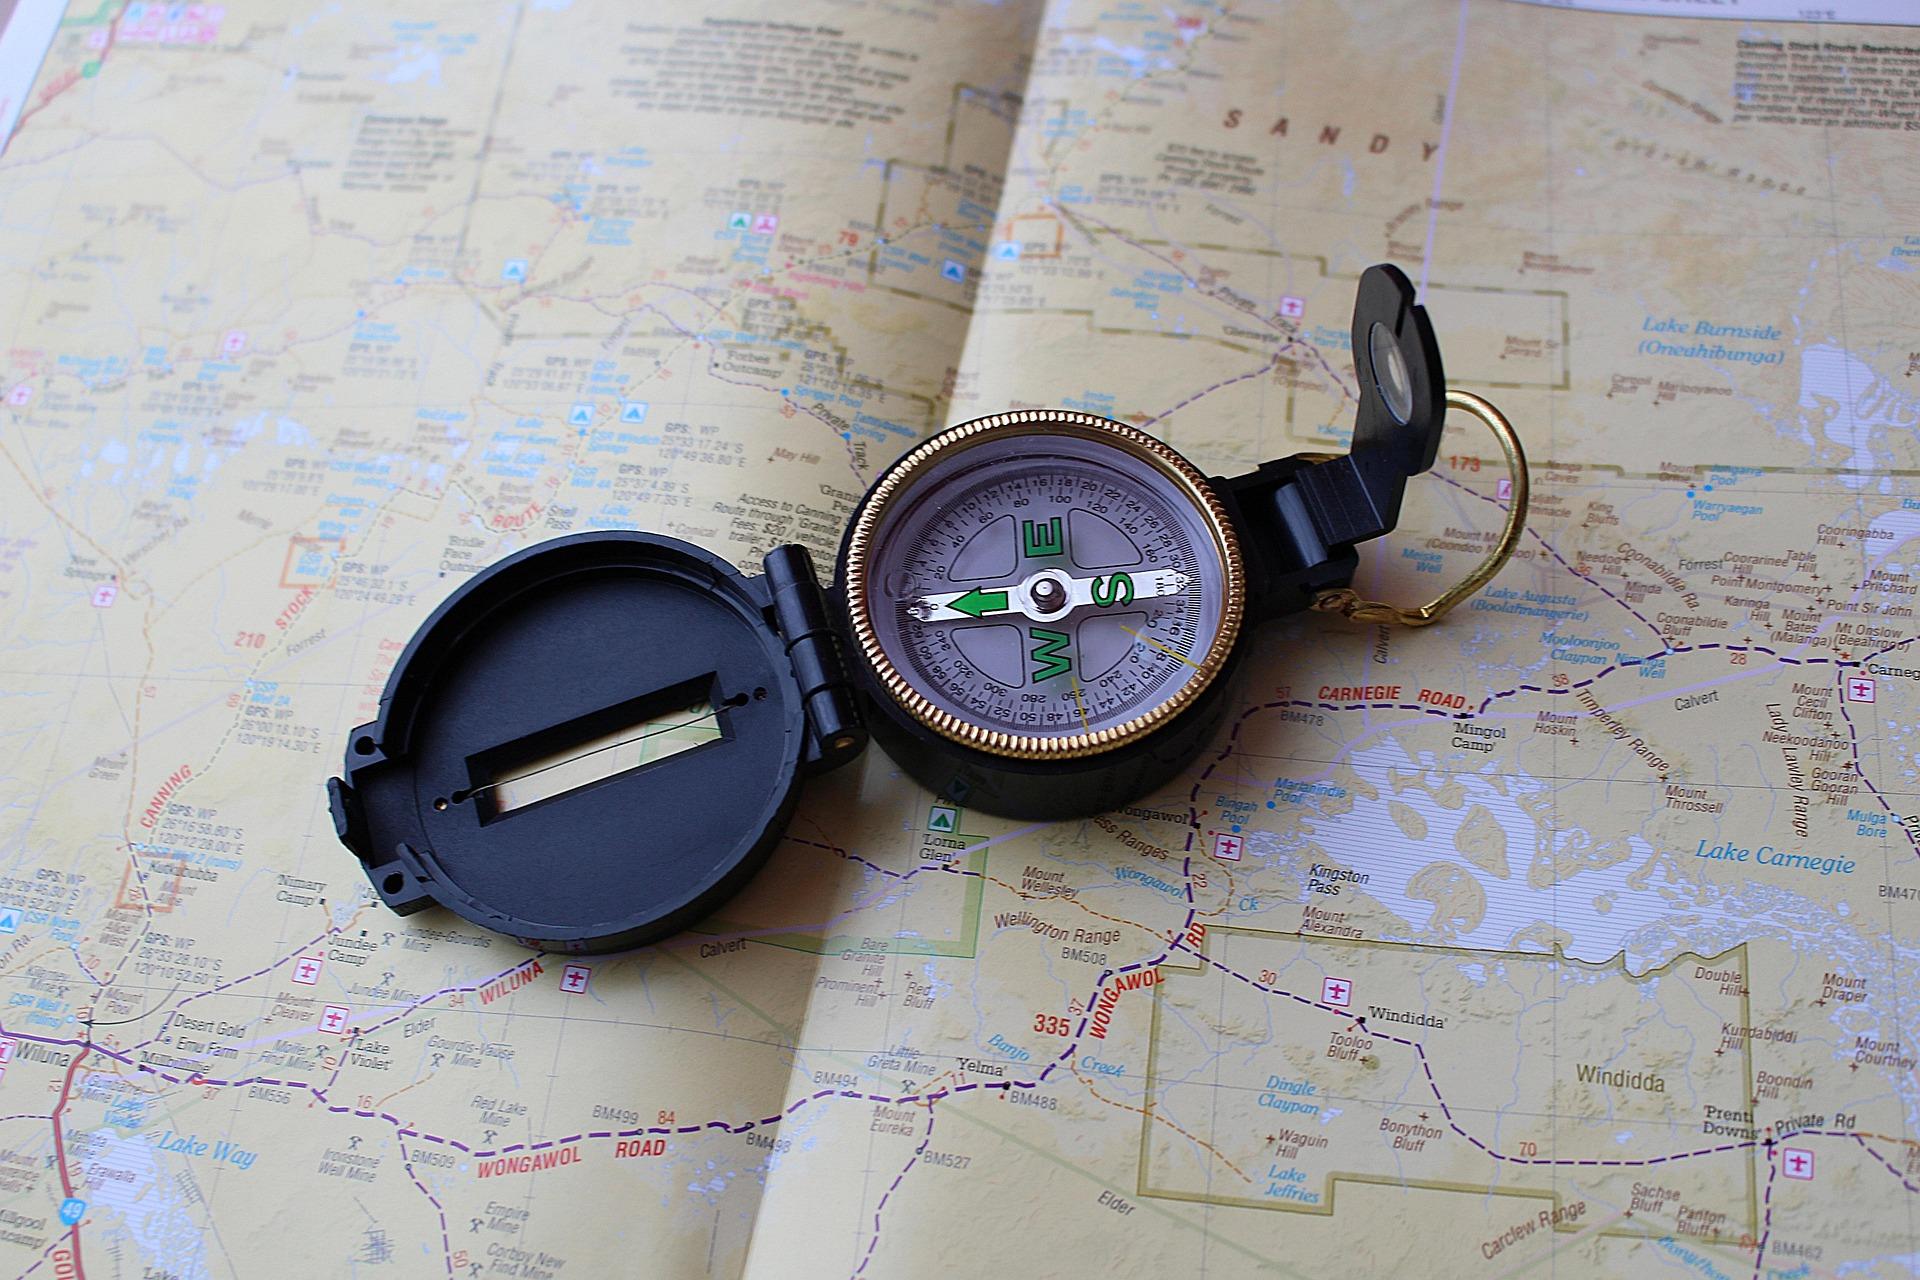
SGUK Outdoor Skills Challenge 96: Plan a Route That Links Three Water Points
Planning a route involves more than choosing a start and a finish. On a longer walk, knowing where you can access water can help you manage your supplies, estimate journey times and make sensible decisions if conditions change.
For this challenge, you need to plan a route that links three water points. You will use a map to identify suitable locations, check that they are accessible, calculate the distances between them and consider what to do if one is unavailable. The aim is to produce a practical route plan, not simply draw a line between three blue symbols on a map.
Your Challenge
Plan a walking route that visits three separate water points in a sensible order. Your route must include a starting point, a finish point, the three water points, estimated distances and a plan for navigating between them.
The water points could be public taps, recognised drinking-water facilities or other verified sources where access is permitted. If you use natural water sources such as streams or springs, treat them as potential sources requiring appropriate treatment, not as automatically safe drinking water.
You must:
- Identify three water points on a suitable map.
- Check their locations and whether access is permitted.
- Plan a route that visits all three points.
- Estimate the distance and walking time between each point.
- Identify potential hazards and alternative options.
- Record your route and explain how you would manage water supplies if a point were unavailable.
You can complete the planning stage using a map and reliable information without visiting the locations. If you choose to walk the route, make sure it is suitable for your experience, fitness and the prevailing conditions.
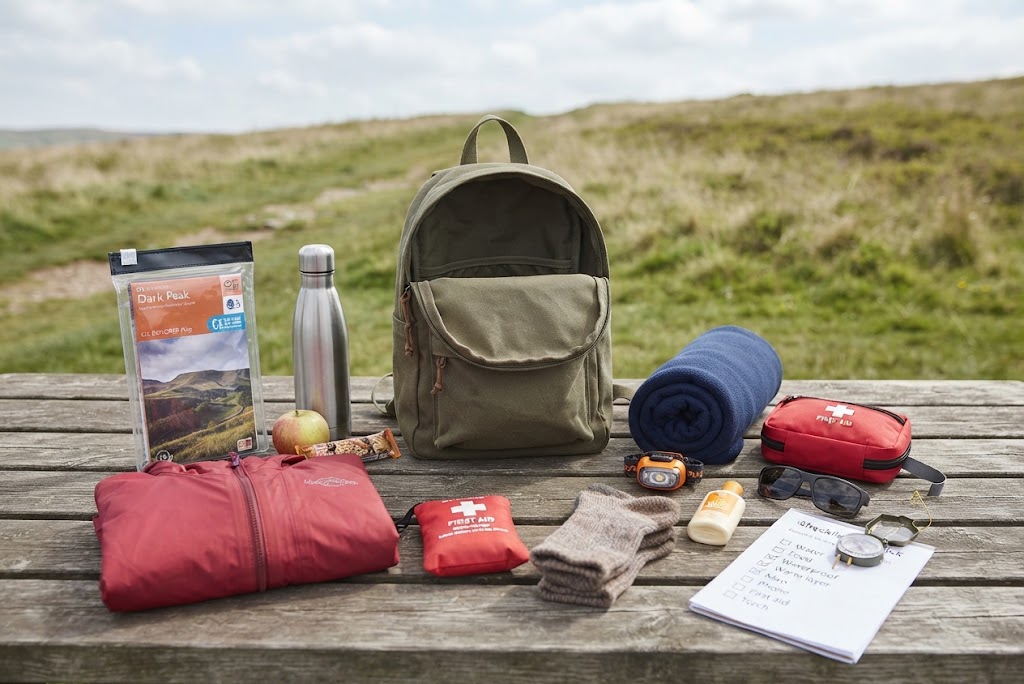
What You’ll Need
- A suitable paper map or reliable digital mapping tool.
- A notebook and pencil, or a digital route-planning record.
- A ruler or map measuring tool.
- A compass or navigation device appropriate to the terrain.
- Information confirming the location and accessibility of the three water points.
- A way to check distances, elevation and expected walking times.
- Your own drinking water and a suitable container if you decide to walk the route.
Do not assume that a symbol on a map confirms a working tap or a safe water supply. Check current information where possible, and plan to carry enough drinking water for the journey rather than relying entirely on finding water along the way.
Take the Challenge
1. Choose a suitable area
Start with an area you can assess properly, such as a local walking route, a recognised countryside trail or a permitted network of public paths.
Choose a route that matches your experience and the time available. For a first attempt, a relatively short route with clear paths and straightforward navigation is more useful than a long route across difficult terrain.
Check access rights, opening times and any restrictions that could prevent you from reaching a water point. A facility inside a locked building, private campsite or seasonal attraction may not be available when you need it.
2. Locate three water points
Use your map to find three separate water points along or near a possible walking route.
Suitable examples include:
- Public drinking-water taps that are confirmed to be available.
- Drinking-water facilities at an accessible campsite or visitor site, where access is permitted.
- Public facilities with verified potable-water supplies.
- Natural water sources, if your route-planning exercise specifically includes water treatment and safety considerations.
For this challenge, clearly distinguish between verified drinking water and untreated natural water. A stream, pond or spring should never be labelled safe to drink solely because the water looks clear. Contamination may be present even when it is invisible.
Record each water point’s location and how you verified it. If its status is uncertain, mark it as unconfirmed rather than relying on it as an essential resupply point.
3. Plot the route
Mark your starting point, the three water points and your finish on the map. Choose an order that creates a sensible walking route while staying on permitted paths.
Avoid drawing straight lines through fields, private land, dense vegetation or other places where you cannot legally or safely walk. Follow the actual path network and account for detours around rivers, steep slopes, roads and other obstacles.
Consider whether you should visit the water points in the order you discovered them or rearrange them to reduce unnecessary distance. The shortest route is not always the best one: a slightly longer route on clear, well-maintained paths may be safer and easier to navigate.
Make sure your route can be followed using the map and any navigation tools you plan to carry.
4. Calculate the distances
Measure the walking distance from the start to the first water point, between the first and second, between the second and third, and from the third water point to the finish.
Use the route along the paths rather than measuring straight-line distances between locations. Add the sections together to estimate the total route distance.
Record your figures clearly. For example:
- Start to Water Point 1: 2.0 km
- Water Point 1 to Water Point 2: 1.5 km
- Water Point 2 to Water Point 3: 2.5 km
- Water Point 3 to Finish: 1.0 km
In this example, the total route is 7 km. These figures are illustrative only; use the actual distances from your own planned route.
Allow extra time for climbs, rough ground, navigation, breaks and checking water facilities. A route that looks short on a flat map may take longer if it includes steep terrain or difficult paths.
5. Check the water points
Investigate each location rather than assuming it will be usable.
For a public tap, check whether it is intended for drinking water, whether it is seasonal and whether there are any access restrictions. For a facility on private premises, confirm that walkers are allowed to use it.
If you include a natural source, record it separately from verified potable-water points. Consider whether suitable water treatment is available and appropriate for the potential contaminants. Some contaminants, including chemicals, are not removed by ordinary boiling or standard portable filters.
For each point, record:
- Its location and how to find it.
- Whether drinking water is confirmed to be available.
- Any opening times or access conditions.
- A backup option if it is closed, dry or inaccessible.
If you cannot verify a point, do not make it the only source you expect to use.
6. Consider navigation and hazards
Review the route from beginning to end. Identify junctions where you could take the wrong path, sections where the route may be unclear and locations where weather could affect progress.
Check for steep ground, exposed sections, road crossings, river crossings and paths that may become muddy or flooded. Avoid unsafe crossings and do not assume that a mapped path will be passable in every condition.
Choose clear navigation checkpoints between the water points. These might include path junctions, bridges or other identifiable features. Record what you should look for at each checkpoint so you can confirm that you remain on the correct route.
If you are walking the route, tell someone your plans where appropriate, carry a suitable means of navigation and communication, and be prepared to turn back or use an alternative route if conditions deteriorate.
7. Plan your water supply
The challenge is to plan around water points, not to depend on them blindly.
Estimate how much drinking water you may need based on the distance, effort, weather and your individual requirements. Carry enough to cover the section ahead, including a reasonable reserve for delays. Hot weather, steep climbs and strenuous walking can increase your needs.
Plan what you will do if the first water point is unavailable. Could you safely continue to the next verified point with the water you are carrying? Is there a permitted alternative nearby? If not, you may need to shorten or change the route.
Do not drink untreated natural water simply because you have run out of carried supplies. If you cannot maintain a safe water supply, stop and reassess the plan.
8. Review the complete route
Read through your route plan as if you were about to follow it for the first time. Check that the distances add up, all three water points are clearly marked, the path between each point is practical and your alternatives make sense.
Ask yourself what would happen if one facility were closed, the weather worsened or you lost your way. A good plan should help you make decisions rather than leave you dependent on everything going exactly as expected.
Check Your Results
Review your plan against these questions:
- Have you identified three distinct water points?
- Have you checked their locations and access conditions?
- Have you distinguished verified drinking water from untreated natural sources?
- Have you plotted a route along permitted paths?
- Have you calculated each section’s distance and the total distance?
- Have you estimated a realistic walking time?
- Have you marked navigation checkpoints and potential hazards?
- Have you planned for a closed, dry or inaccessible water point?
- Have you considered how much water to carry between resupply locations?
If any answer is no, revise the plan before considering the challenge complete.
Complete the Challenge
Your challenge is complete when you have produced a clear route plan that links three water points and includes distances, navigation checkpoints, access information and backup arrangements.
Your route does not need to be especially long. A well-planned 5 km route can demonstrate better judgement than a much longer route that depends on uncertain water supplies.
Keep the final plan in your notebook or save a copy of the map with your route marked. Include a short explanation of why you chose the order of the water points and how you would adapt the route if one became unavailable.
How to Submit Your Challenge
Log in to your Survival Guides UK account and open your member profile. Go to the Social Activity section and create a post showing your route plan.
Include the hashtag #SGUKChallenge96 so your submission can be identified for verification.
Share a photograph or screenshot of your marked map, along with a short explanation of the three water points, your total route distance and one backup arrangement. If your map reveals sensitive information about a private location, remove or obscure it before posting.
Challenge 96 Checklist
Want to Push Yourself?
Try planning two different routes that link the same three water points. Compare their distances, walking times, elevation and potential hazards. Decide which route you would choose in wet weather and explain why.
You could also create a contingency plan in which one water point is unavailable. Recalculate the route and identify how much extra water you would need to carry. Keep any alternative water source clearly marked according to whether it is verified as potable or requires treatment.
For an additional navigation challenge, give your route plan to another person and ask them to explain how they would follow it without your help. Their questions may reveal missing checkpoints or unclear instructions.
What’s Next?
Continue your progression with SGUK Outdoor Skills Challenge 95: Make a Hot Drink from Pine Needles if you have not completed it yet. That challenge focuses on tree identification, responsible gathering and preparing a hot drink safely outdoors.
You can also explore the full SGUK Outdoor Skills Challenge series to keep developing your practical navigation, campcraft and outdoor decision-making skills.
Once you’ve shared your evidence and it has been verified, the SGUK Outdoor Skills Challenge 96 is complete and the completed challenges figure will be updated on your profile.
🔒Ready to test your survival skills?
Join Survival Guides UK for free, complete challenges, earn badges and increase your Survival Level.
JOIN FREE →
CRAIG BURR
FOUNDER · SURVIVAL GUIDES UK
I'm Craig, the person behind Survival Guides UK. I created SGUK because I wanted somewhere people could learn real outdoor skills in a practical, straightforward way — from lighting a fire and tying knots to navigation, campcraft and everything in between.
You can read more about the story behind SGUK here as well as our approach here.