Challenge 104: Demonstrate a Suitable Method of Securing Loose Cordage to Prevent Tangles During Storage
Cordage is used for all sorts of outdoor tasks, from pitching tarps and shelters to securing equipment and practising knots. However, a length of rope thrown into a bag can quickly become tangled with itself or other equipment, wasting time when you need it.
Knowing how to coil and secure cordage properly is a simple but valuable bushcraft skill. For this challenge, you’ll organise a length of loose cordage, secure it so the coil stays together, and demonstrate that you can release it again without unnecessary tangles.
Your Challenge
Demonstrate a suitable method of coiling and securing loose cordage so it can be stored neatly and retrieved without tangling.
You must show that you can:
- Inspect the cordage before storing it.
- Coil the length neatly without introducing twists or knots.
- Secure the coil using a suitable method.
- Store it so the cordage remains organised.
- Release the cordage and deploy it without creating a tangle.
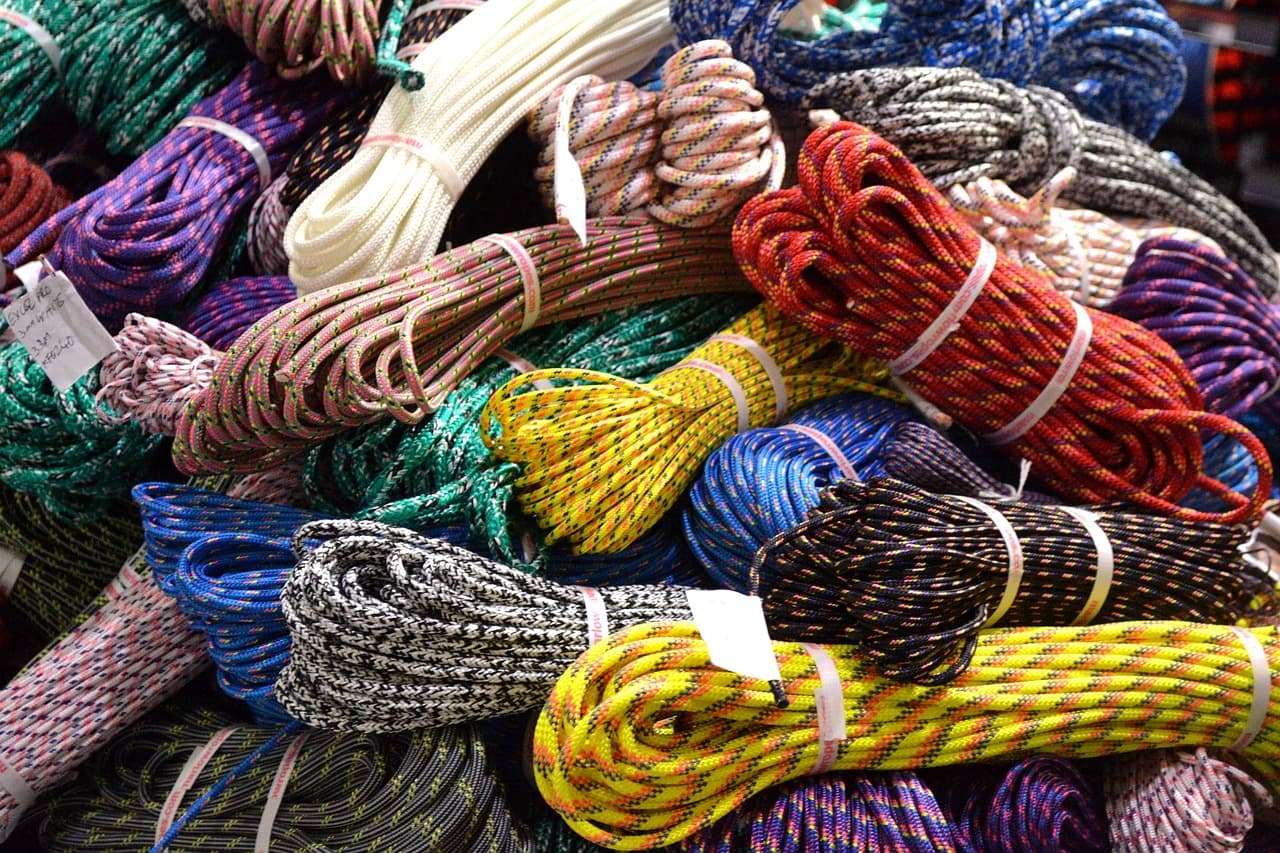
You can use paracord, utility cord or another suitable length of outdoor cordage. The method should be appropriate for the type and length of cord you are storing.
What You’ll Need
- A length of loose cordage, ideally around 5–10 metres long.
- A short piece of cord or the cord’s own working ends to secure the coil.
- A clean, dry place to practise.
- A camera or phone to photograph the finished coil.
Use cordage that is in reasonable condition. If it is wet, muddy or dirty, clean and dry it appropriately before long-term storage, following the manufacturer’s guidance where applicable.
You do not need specialist equipment. The purpose is to develop a reliable method that you can use with the cordage you carry on outdoor trips.
Take the Challenge
1. Inspect and straighten the cordage
Start by laying the cord out in a clear space. Work along its full length, checking for knots, twists, fraying, cuts or other damage.
Untangle any existing knots before you begin coiling. Pulling cordage into a tight bundle while knots remain can make them harder to remove later.
If the cord has been used outdoors, check for grit, mud or plant material that could damage the fibres during storage. Clean it where necessary and allow it to dry before putting it away for an extended period.
Make sure the cord is suitable for its intended use. A neatly stored rope is not necessarily a safe rope, and damaged cordage should not be relied upon for tasks where failure could cause injury.
2. Choose a suitable coiling method
For this challenge, use a simple hand-coiling method suitable for ordinary utility cord.
Hold one end of the cord and form a series of even loops, bringing the cord back and forth into a consistent coil. Keep the loops large enough to avoid tight bends and small enough for the finished bundle to fit comfortably into your storage space.
As you form each loop, allow the cord to lie naturally rather than twisting it tightly around itself. If the cord begins to kink or form a twist, pause and remove the twist before continuing.
Keep the loops approximately the same size. Uneven loops can make the coil awkward to secure and may cause sections to catch when you release it.
For cordage that has a tendency to twist, an alternative method may be more suitable. The important point is to coil it without forcing it into tight bends or introducing unnecessary twists.
3. Form a neat, manageable coil
Continue forming loops until the full length is coiled, leaving both ends accessible.
Keep the bundle compact but not compressed so tightly that the cord becomes difficult to release. A neat coil should hold its shape without needing excessive force to keep it together.
Check that the loops lie alongside one another rather than crossing repeatedly or forming small knots within the bundle.
If you notice a loop trapped beneath another section, correct it before securing the coil. It is much easier to fix an untidy section while the cord is still loose than after the whole bundle has been tied together.
4. Secure the coil
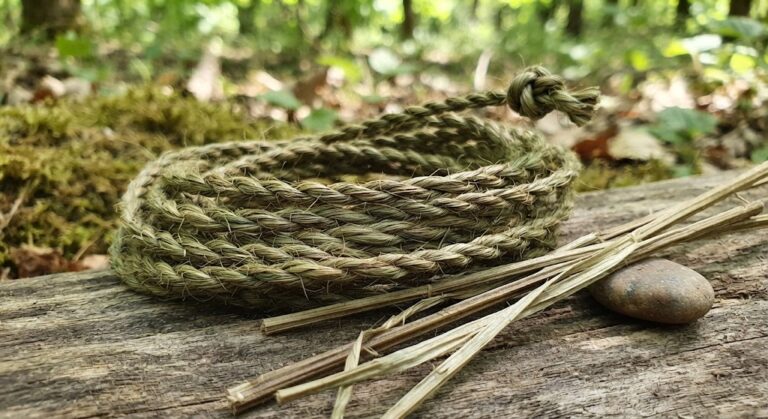
Use a short piece of cord to bind the coil, or use one of the cord’s own ends if the cord type and intended storage method make this practical.
A simple method is to wrap a short length of cord around the centre of the coil and tie it with a removable knot, leaving enough access to undo it easily. Avoid pulling the binding so tightly that it crushes the loops or makes them difficult to separate.
Another option is to use a suitable figure-of-eight-style wrap around the coil, provided it holds the bundle securely and can be released without pulling the cord into a tangle.
The binding should prevent the loops from spreading during storage and transport. It should not be so complicated that you struggle to release it when you need the cord.
Keep the cord’s working ends accessible. Avoid tying them into the centre of the coil or burying them beneath multiple wraps.
5. Check the finished bundle
Lift the coil carefully and move it gently from side to side. The loops should remain together rather than spilling out into a loose mass.
Check that the binding has not slipped and that the ends remain accessible. If the coil loosens, adjust the wrapping or use a more suitable securing method.
Do not rely on the binding to make an otherwise tangled coil usable. If the loops have crossed awkwardly or trapped twists, undo the bundle and coil it again.
The finished coil should be compact enough to store in a pack, dry bag or equipment container without becoming tangled with other items.
6. Practise releasing the cordage
A storage method is only useful if you can retrieve the cord when needed.
Undo the securing wrap and release the cord in a controlled manner. Keep the coil organised as you pull the free end, allowing the loops to fall away in sequence rather than throwing the whole bundle across the ground.
Watch for twists, crossed loops or sections that catch. If the cord snags, stop and identify the cause rather than pulling harder.
Once the cord is fully released, inspect it for tangles. Repeat the process if necessary, then coil and secure it again.
Practising both storage and deployment helps you develop a method that works reliably when you are outdoors and need to set up a shelter quickly.
7. Prepare the cordage for storage
Before putting the coil away, consider where and how it will be stored.
Keep cordage dry and away from unnecessary heat, direct sunlight over long periods and chemicals that could damage its fibres. Follow the manufacturer’s recommendations for the particular material.
Store different lengths or types of cord separately where possible. This makes it easier to select the correct cord for a task without disturbing the rest of your equipment.
If you carry cordage for a particular purpose, such as pitching a tarp, consider keeping it in a dedicated pouch or clearly organised compartment. This reduces the chance of tangling it with spare straps, guy lines or other loose equipment.
Check Your Results
You have completed the challenge when you can demonstrate that:
- You inspected the cordage and removed existing tangles.
- You formed a neat coil without unnecessary twists or tight bends.
- You secured the coil so the loops stayed together during gentle handling.
- Both ends remained accessible.
- You released the cordage without creating a significant tangle.
- You could explain why your chosen storage method suits the cordage.
If the coil falls apart when lifted or becomes tangled during deployment, try again. The aim is to develop a repeatable method, not simply produce a tidy-looking bundle for a photograph.
Complete the Challenge
Coil and secure a length of loose cordage using a method suitable for its type and intended use. Test the finished bundle by handling it gently, then undo the binding and release the cord to check that it deploys without unnecessary tangles.
Take a clear photograph showing the secured coil. You may also include a second photograph showing the cord laid out after being released.
In your written submission, explain which coiling method you used, how you secured the bundle and whether the cord deployed cleanly when you tested it.
How to Submit Your Challenge
- Log in to your Pure Bushcraft account.
- Visit your member profile and open the Social Activity section.
- Create a post containing a photograph of your secured cordage.
- Include the hashtag #PureBushcraftChallenge104.
- Briefly describe your coiling method and explain how you checked that the cord could be released without tangling.
Your submission will be checked before the challenge is marked as verified.
Challenge 104 Checklist
Want to Push Yourself?
Repeat the challenge with two different lengths or types of cordage. Compare how easily each coils, how well the binding holds and whether either type tends to twist or kink.
You could also practise storing cordage in the way you would actually carry it on a bushcraft trip, such as inside a dedicated pouch or equipment compartment. Check that it can be retrieved without disturbing other items.
For an additional test, time how long it takes you to release and neatly deploy the cord from its secured coil. Repeat the task a few times and see whether your technique becomes more consistent without sacrificing care or control.
What’s Next?
Continue building your practical outdoor skills by revisiting Pure Bushcraft Outdoor Skills Challenge 103: Construct a Rainwater Collection System if you haven’t completed it yet. That challenge focuses on directing rainwater into a clean container while considering contamination and camp layout.
The Pure Bushcraft Outdoor Challenges can be completed in any order, so keep practising the skills that help you organise your equipment and work efficiently outdoors.
Once you’ve shared your evidence and it has been verified, the Pure Bushcraft Outdoor Skills Challenge 104 is complete and the completed challenges figure will be updated on your profile.
🔒Ready to test your survival skills?
Join Pure Bushcraft for free, complete challenges, earn badges and increase your Survival Level.
JOIN FREE →
CRAIG BURR
FOUNDER · PURE BUSHCRAFT
I'm Craig, the person behind Pure Bushcraft. I created Pure Bushcraft because I wanted somewhere people could learn real outdoor skills in a practical, straightforward way — from lighting a fire and tying knots to navigation, campcraft and everything in between.
You can read more about the story behind Pure Bushcraft here as well as our approach here.