
Follow the Bearing
Activity Overview
Difficulty: Intermediate
Time: 90 minutes
Group size: 6-10
Best for: Scouts
Skills: Compass use, navigation, bearings, distance estimation, teamwork, communication, problem solving
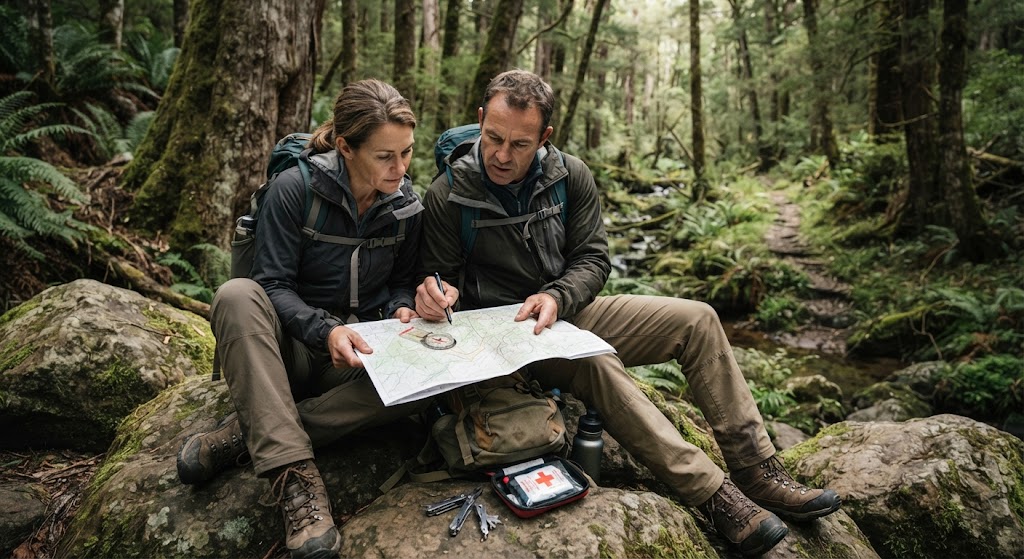
Give each team a compass, a starting point and a sequence of bearings with approximate distances. Teams must follow each bearing accurately, estimate the distance travelled and locate the next marker or instruction. The winning team is the one that completes the course accurately rather than simply finishing first.
What You’ll Learn
By the end of the activity, Scouts should have practised:
- Setting and following a compass bearing
- Checking direction before moving
- Estimating distance
- Working accurately as a team
- Communicating navigation decisions
- Recovering when they lose their position
- Understanding why accuracy matters in navigation
🟡 SAFETY – MODERATE RISK
Choose a suitable outdoor area away from roads, steep drops, deep water and other significant hazards. Set clear boundaries and make sure leaders know where teams are expected to go.
Keep teams together rather than allowing individuals to navigate independently. Check weather conditions and ensure Scouts have suitable clothing and footwear.
Before starting, explain what to do if a team becomes unsure of its location: stop, stay together and contact a leader.
Equipment
- Compass for each team
- Printed bearing and distance instructions
- Numbered markers or flags
- Measuring wheel or tape measure for setting out the course
- Pens and score sheets
- Whistle for each leader
- Suitable outdoor clothing
Prerequisites
Scouts should already understand the basic parts of a compass and be able to identify the four main compass points. It is helpful if they have previously practised taking and following simple bearings.
Instructions
1. Set Up
Before the activity, place a series of numbered markers around the activity area. Plan a route using different bearings and distances, for example:
- 045° for 40 metres
- 120° for 55 metres
- 210° for 35 metres
- 300° for 60 metres
The exact bearings and distances should suit your location.
2. Brief the Scouts
Explain that each team will receive a starting point and its first bearing. Their job is to set the compass correctly, travel in the right direction and estimate the required distance.
Emphasise that accuracy is more important than speed.
3. Demonstrate
Show the group how to:
- Hold the compass level.
- Set the required bearing.
- Turn until the direction-of-travel arrow points the correct way.
- Check the surrounding landmarks.
- Choose a suitable person or object in the distance to walk towards.
- Keep checking the bearing while moving.
Demonstrate how a team can use pacing to estimate distance.
4. Start the Challenge
Give each team its first instruction.
The team should decide who will hold the compass, who will estimate distance and who will check the surroundings. Encourage them to swap roles during the course.
When they reach the correct location, they should find the next marker and record their result before continuing.
5. Add Navigation Problems
Once teams understand the basic challenge, introduce one or two complications.
For example, they may have to navigate around an obstacle without losing their original bearing, or identify a landmark before continuing.
You can also deliberately make one section less obvious so teams have to stop and check their navigation rather than simply following the person in front.
6. Finish and Review
When teams finish, compare their routes and results.
Ask:
- Which bearing was easiest to follow?
- Which was hardest?
- How did you estimate distance?
- What did you do when you became unsure?
- Did everyone have a role?
- How much difference did small errors make over a longer distance?
Finish by reinforcing the importance of stop, check, think and then move when navigating.
Final Tip
Don’t make the course a race. A team that takes an extra minute to check its bearing is practising better navigation than a team that runs quickly in the wrong direction.
🔒Ready to test your survival skills?
Join Pure Bushcraft for free, complete challenges, earn badges and increase your Survival Level.
JOIN FREE →
CRAIG BURR
FOUNDER · PURE BUSHCRAFT
I'm Craig, the person behind Pure Bushcraft. I created Pure Bushcraft because I wanted somewhere people could learn real outdoor skills in a practical, straightforward way — from lighting a fire and tying knots to navigation, campcraft and everything in between.
You can read more about the story behind Pure Bushcraft here as well as our approach here.