Challenge 106: Demonstrate Five Knots
Knowing how to tie a knot is useful, but understanding when to use it is what makes that knowledge valuable outdoors. A knot that works well for joining two ropes might be unsuitable for creating a fixed loop, while a knot that holds securely in one situation may slip or become difficult to untie in another.
For this challenge, you will demonstrate five knots you have already learned, tying each one correctly in succession. For every knot, you must identify its intended use and explain one limitation. The aim is to develop practical knowledge of knots rather than simply memorise their names.
Your Challenge
Choose five knots you have previously learned and demonstrate them consecutively, tying each correctly before moving on to the next.
For every knot, you must:
- Tie it correctly using suitable cordage.
- Identify its intended use.
- Explain at least one limitation or situation in which it may be unsuitable.
You can choose any five knots you know well enough to demonstrate accurately. If you need inspiration, consider the figure-eight on a bight, clove hitch, round turn and two half hitches, bowline, and reef knot.
These are suggestions rather than compulsory choices. You should select knots that allow you to demonstrate a range of uses, such as forming a loop, attaching a line to an object and joining cordage.
The challenge is not a race. Concentrate on accuracy, understanding and consistency. Five correctly tied knots with sound explanations are more valuable than five rushed attempts.
What You’ll Need
Gather the following before starting:
- Five suitable pieces of cordage, or one longer length that allows you to tie and inspect each knot.
- A stable, suitable object to practise attaching knots to, such as a stout post or fixed rail.
- Enough space to work without becoming tangled in loose cordage.
- A reference guide, if needed, to check the correct structure of each knot before you begin.
Cordage with a moderate thickness is often easier to handle when learning. Avoid badly frayed, damaged or brittle cord, as its condition can affect how knots form and hold.
You do not need specialist climbing rope or expensive equipment. Ordinary practice cord is sufficient for demonstrating the basic construction of common bushcraft knots.
Safety note: This is a cordage skills challenge, not a load-testing exercise. Do not use your knots to suspend yourself, support another person, climb, secure a life-safety system or carry out any other activity where failure could cause serious injury. The performance of a knot depends on its construction, the cordage and the conditions in which it is used.
Take the Challenge
1. Choose Your Five Knots
Select five knots that you have learned previously. Ideally, choose knots with different purposes so that you can demonstrate your understanding of their practical applications.
For example, you might select:
- Figure-eight on a bight: Creates a fixed loop in a rope.
- Bowline: Forms a fixed loop at the end of a rope.
- Clove hitch: Attaches a line to a suitable post or pole.
- Round turn and two half hitches: Secures a line around an appropriate object.
- Reef knot: Joins two ends of cordage of similar diameter for suitable light-duty purposes.
You can substitute any of these with other knots you know. The important thing is that you can explain what each knot does and recognise where its limitations matter.
Before beginning, make sure you can tie all five without relying entirely on a diagram. If you are uncertain about one, practise it first and check your technique against a reliable knot reference.
2. Prepare Your Demonstration
Arrange your cordage and practice area so that you can work through the five knots without unnecessary interruptions.
Decide on the order in which you will demonstrate them. You may find it easiest to begin with the knots you are most confident tying and finish with the one that requires the most concentration.
For each knot, prepare a short explanation covering three points:
- Name: What is the knot called?
- Use: What is it designed to do?
- Limitation: What is one weakness or circumstance in which it should not be relied upon?
You do not need a long technical explanation. A clear, accurate sentence for each point is enough.
For example, you might explain that a clove hitch can attach a line to a post, but it may slip when the load changes or the line is pulled in an unsuitable direction.
Understanding the limitation is just as important as knowing the intended use. In bushcraft, choosing the wrong knot can lead to a shelter loosening, equipment shifting or cordage failing when you need it.
3. Tie the First Knot Correctly
Begin with your first selected knot.
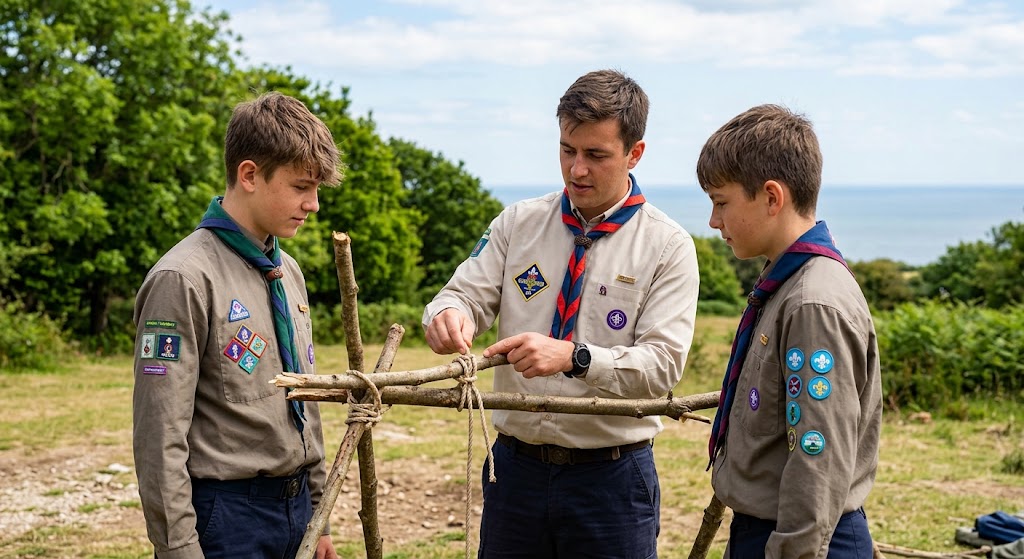
Form the knot carefully, paying attention to the direction in which the cord passes around itself and the way the working end crosses or passes through the other parts of the cord.
Once tied, inspect its structure. Compare it with a reliable reference if necessary. Check that the knot is correctly formed, that the strands follow the intended path and that the knot has been tightened appropriately.
Do not judge a knot solely by whether it looks tidy. Some knots can appear convincing even when tied incorrectly.
Explain its intended use and identify one limitation before moving on.
4. Continue Through the Remaining Four Knots
Untie the first knot and move on to the second, then repeat the process until you have demonstrated all five.
You may use separate pieces of cordage if this makes the demonstration easier. Alternatively, use the same cordage where appropriate, provided you can form each knot correctly and inspect it clearly.
For every knot:
- Tie it from the beginning.
- Check that its structure is correct.
- Tighten it appropriately for its intended purpose.
- Name the knot.
- Explain what it is used for.
- Identify one limitation.
Complete the five demonstrations consecutively without skipping a knot.
If you discover an error, undo the knot and tie it again. Correcting a mistake is part of learning. It is better to recognise an incorrect knot than to continue simply to finish the challenge.
5. Explain the Intended Use of Each Knot
Your explanation should show that you understand the job the knot is designed to perform.
Here are examples to help you prepare.
Figure-eight on a bight
The figure-eight on a bight creates a fixed loop in a rope without requiring access to the rope’s end.
A limitation is that it can be bulkier than some alternative loop knots and may be difficult to untie after heavy loading. Its suitability also depends on the application and cordage.
Bowline
A bowline creates a fixed loop at the end of a rope and is useful for certain general-purpose tasks where a loop is required.
A limitation is that it can loosen or become unreliable under some changing or cyclic loading conditions if not appropriately secured. It should not be assumed suitable for climbing or other life-safety applications simply because it is a familiar knot.
Clove hitch
A clove hitch is a quick way to attach a line to a suitable post or pole.
A limitation is that it can slip under certain loading conditions, particularly when the load changes direction or the hitch is not kept under suitable tension.
Round turn and two half hitches
This knot arrangement can secure a line around a suitable fixed object. The round turn helps distribute friction around the object, while the half hitches secure the working end.
A limitation is that its performance depends on the cordage, the object and the loading conditions. It is not automatically secure for every application.
Reef knot
A reef knot is commonly used for tying together two ends of similar-sized cordage for light-duty purposes, such as securing a suitable bundle.
A limitation is that it can slip or capsize when used to join ropes under unsuitable loading. It should not be used where a dependable load-bearing joining knot is required.
These are examples rather than a list you must copy. If you choose different knots, research their intended uses and limitations carefully before demonstrating them.
6. Check Your Understanding
After tying all five knots, review what you have learned.
Can you distinguish between a knot that creates a loop and one that attaches a line to an object? Can you explain why a knot suitable for securing a bundle might be unsuitable for joining two ropes that will be under tension?
Consider whether you could identify each knot by its structure without looking at a reference. Think about the problems that could arise if you chose a knot simply because it was easy to remember rather than because it suited the task.
You should also be able to explain why a correctly tied knot is not necessarily appropriate for every situation. The strength and reliability of a knotted system depend on several factors, including the cordage, the knot’s construction, the direction and nature of the load, and the consequences of failure.
If you struggled with one of the knots, practise it again before considering the challenge complete.
Check Your Results
Use these questions to assess your performance:
- Did I select five knots I had previously learned?
- Did I tie each knot correctly from the beginning?
- Did I inspect each knot before moving on?
- Could I identify every knot by name?
- Could I explain the intended use of each knot?
- Did I identify at least one genuine limitation for every knot?
- Could I explain why a knot might be unsuitable for a particular job?
- Did I complete all five demonstrations consecutively?
If you answered yes to each question, you have met the practical requirements of the challenge.
If you are unsure about the construction or purpose of any knot, revisit it and practise until you can demonstrate it confidently. There is no benefit in memorising a name without understanding what the knot actually does.
Complete the Challenge
To complete this challenge, demonstrate five learned knots consecutively, ensuring each is correctly tied and inspected.
For every knot, identify its name, explain its intended use and describe one limitation. You can use knots of your own choosing, provided you can demonstrate them accurately and explain their practical applications.
Take your time. The purpose is to develop reliable knowledge that you can apply when setting up a tarp, organising equipment, securing suitable loads or working with cordage around camp.
Remember that this challenge does not certify you to use knots in climbing, rescue or other life-safety situations. Those activities require appropriate specialist training and equipment.
How to Submit Your Challenge
Once you have completed the challenge, log in to your Pure Bushcraft account and visit your member profile’s Social Activity section.
Create a post containing photographic evidence of your work. Ideally, include clear photographs of all five completed knots, with each knot identified by name.
In your post, explain the intended use and one limitation of each knot. This will allow the reviewer to assess not only whether you have tied the knots, but also whether you understand their practical applications.
Include the exact hashtag:
#PureBushcraftChallenge106
Make sure your photographs are clear enough for the knots to be inspected. If you use the same cordage for several demonstrations, photograph each completed knot before untying it.
Challenge 106 Checklist
Want to Push Yourself?
Once you can demonstrate five knots confidently, increase the difficulty by selecting five that perform distinctly different jobs.
For example, you could include a loop knot, a hitch, a bend for joining cordage, a stopper knot and a knot used for tensioning a line. This will test whether you understand the differences between knot types rather than simply remembering five familiar examples.
You could also practise tying your chosen knots from memory on a different thickness of suitable cordage. Observe whether the material changes how easily each knot forms and whether the finished knot is easy to inspect.
Another useful exercise is to identify a real outdoor task, such as attaching a tarp guyline to a suitable anchor, and explain which knot you would choose and why. Consider the direction of pull, the possibility of slipping, how easily the knot can be untied and what would happen if it failed.
Never test knots by suspending yourself or another person, or by placing yourself beneath an unsupported load. Keep your practice within safe, low-consequence situations.
What’s Next?
In Challenge 105, you built your first cooking fire, learning to prepare fuel, manage a controlled fire and extinguish it safely. If you have not completed that challenge yet, you can return to it whenever you wish. Pure Bushcraft challenges can be completed in any order.
Keep practising your cordage skills. A good understanding of knots helps you make better decisions outdoors, whether you are securing equipment, setting up a tarp or organising a camp.
Once you’ve shared your evidence and it has been verified, the Pure Bushcraft Outdoor Skills Challenge 106 is complete and the completed challenges figure will be updated on your profile.
🔒Ready to test your survival skills?
Join Pure Bushcraft for free, complete challenges, earn badges and increase your Survival Level.
JOIN FREE →
CRAIG BURR
FOUNDER · PURE BUSHCRAFT
I'm Craig, the person behind Pure Bushcraft. I created Pure Bushcraft because I wanted somewhere people could learn real outdoor skills in a practical, straightforward way — from lighting a fire and tying knots to navigation, campcraft and everything in between.
You can read more about the story behind Pure Bushcraft here as well as our approach here.